Today was the day to give it a try and I must say I LOVE the smell of melting beeswax!
I purchased some travel tins from Micheals last year and they have been sitting quietly waiting for me to get busy with the beeswax!
I actually have way more beeswax then pictured here. I bought this chunk at a craft show last Christmas and then in the spring found a local beekeeper that sold me a dozen coffee cups full of raw wax (He said I'd need to purify it but all we did was melt it and be careful when we poured it so most of the black bits stayed in the pot). The chunk above just looked prettier for the picture :)To melt the wax I bolied a pot of water then cut off the top from a milk carton. I chopped up the beeswax into smaller chunks and placed it into the milk carton. I then put the milk carton into the water so it melted the wax from the heat of the water instead of the heat of the burner.
While the wax was melting the girls decorated 1 inch strips of paper to put around the outside of the travel container (they used rubber stamps and then coloured in the images). We also punched out a circle to cover the lids.
When it was time to pour the melted wax we had to stabilize the wicks until the wax hardened (we just used a couple of the kid utensils).
The wax smells so pretty when it's melting and looks so nice when it has cooled.
When the wax was completely cooled we glued on the decorated paper and then Sierra added some glitter glue to hers.
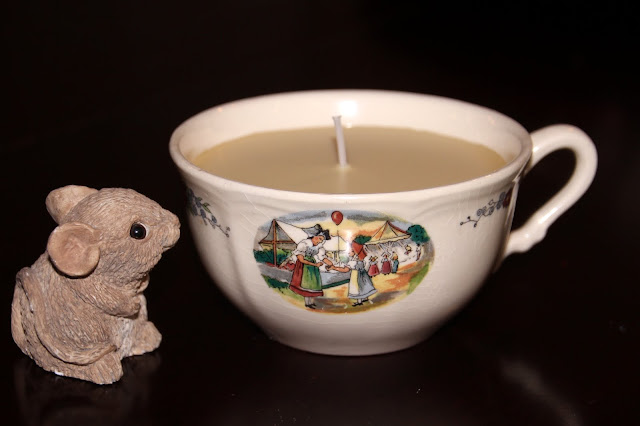
We made a couple tea cup candles too in vintage thrift store mugs.Travel candles are all done but we weren't finished with the beeswax...I also have a box full of beeswax sheets that I was saving forever. I tried to use it once but it kept cracking and breaking and I got frustrated with it so it just sat around for about 8 years!!!
I learnt a little secret about beeswax sheets...it likes to be warmed up when you use it. We picked out a piece of red and a piece of green and set to work.
First we cut off a rectangle that was about 4 inches long.
Then we gave it a quick blow dry to warm it up.
I placed the wick onto the wax and rolled the lip up as shown below and then Sierra did the rest. Aayla was able to make one too but hers is not rolled quite as tightly.
At the end, we warmed up the edge of the wax and pressed it down firmly to secure in place. Sierra also added some green holly leaves we cut out of the green beeswax sheet with a small cookie cutter. We heated up the tip of the leaf and pushed it on to secure it in place.
The girls tried to heat and roll some red scraps to make berries but it proved to be too difficult for them so they gave up and use red glitter glue. They look nice but I am bot sure what happens when glitter glue burns...I guess we will find out soon enough.
Sierra finally discovered Elfie tonight too...he was hiding amounst a cluster of Santa's...very tricky!


hmmmmm I think maybe this is how I should melt my wax too rather than using our good pots!
ReplyDeleteWow - aren't you talented!! This looks AMAZING!! Thanks for linking up to TGIF!! Merry Christmas,
ReplyDeleteBeth =-)
So fun! {and what cuties!} Thanks for sharing at Shine on Fridays! Have a Merry Christmas!
ReplyDelete