I stumbled upon a sweet set of clear stamps at Micheals the other day
and they were 50% off so I had to grab them. They were perfect for
making our memory game and our imaginations ran wild with expanded ideas.
1) Here is what you need to get started:
-wooden craft hearts
-dye based ink pads (pigment and washable inks will rub off and smudge)
-rubber stamps (wood mounted or clear stamps with a base plate)
Optional items
-natural beeswax wood sealer
-pins, magnets and glue (for gift making ideas)
Not shown
-permanent markers
-stamp cleaner
NOTE: It is important to use a dye based ink pad. Pigment ink pads and children's washable inkpads will smudge and will not stand the test of time. The dye base ink pads dry very quickly, are vibrant and your hard work will last for many years. I have a variety of StazOn which are my favourites but also use Memories and Ancient Page pads as well.
2) Choose your stamp and your desired colour inkpad. Tap the stamp onto the pad a few times until the stamp is evenly coated. Carefully press the inked up stamp onto a wooden heart being careful to press evenly and firmly but not too hard or the edges may smudge or the words will fill up with ink.
3) Make sure to clean your stamps with permanent ink remover. Your stamps will stay looking new longer and it will prevent your ink pads from getting residue colours blending in. If you don't have proper ink cleaner then at the very least clean them off by dabbing them onto a soap and water covered piece of paper towel, then dab with water to remove soap and dry by blotting on paper towel.
4) To make the memory game you will need pairs of identical hearts. We made a total of 42 hearts (21 pairs) for our game to make it more challenging for my 6 and 7 year olds. For younger kids you can make fewer pairs.
5) After we made all the heart pairs that came in the new set of conversation heart stamps we just bought, we brought out some other cutsey stamps I already had to use.
6) Sierra got quite creative with this kitty stamp and added flowers to her hair and other details with sharpie markers being ever so careful to make them the same. She also used mini alphabet stamps to add on words. Thankfully I like to put a piece of paper under their workspace as this ink is permanent and as you can see from the paper...accidents happen.
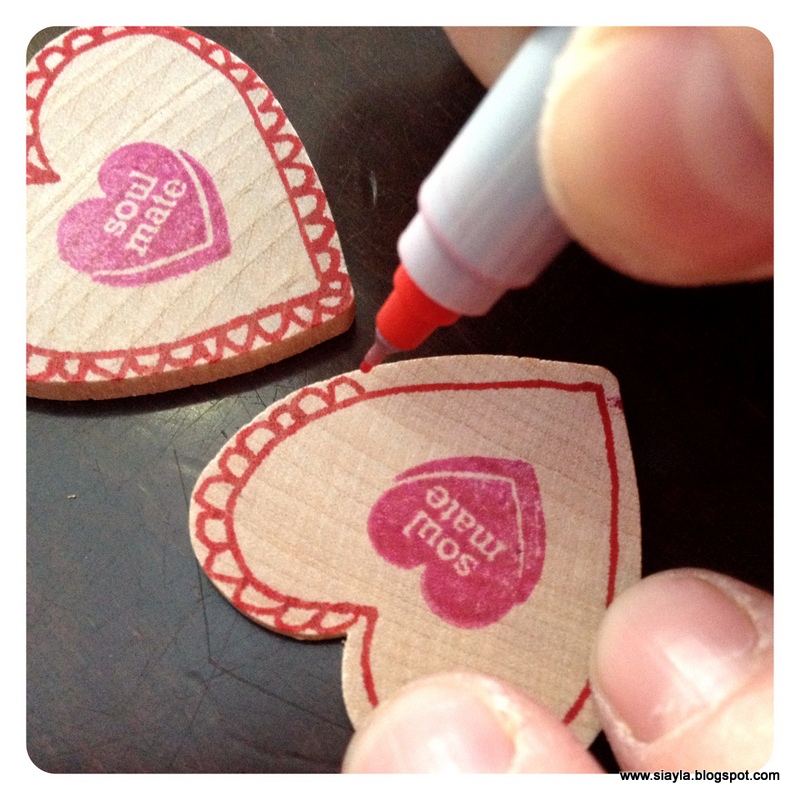
7) Some of the animal stamps and small hearts didn't take up enough space on the wooden heart and they looked sort of plain so we added trim work with the sharpies for extra detail.
 |
| I love the earrings Sierra added to the kitty heart in bottom corner |
8) When you have enough pairs finished you can rub a natural wood protector on them as a preserve. This is optional of course as it's not necessary for the game but your pieces will last for many years if you do use a protective polish. Mine is a beeswax polish which came from
Mamakopp on etsy (I LOVE all her wooden goodies she makes). The picture below shows the colour difference adding the protective beeswax polish gives it. The 'I love you' heart has been polished and the 'you are the best' heart remains unfinished.
9) Now for the fun part...mix up your hearts and lay them out on a table or the floor in rows, facing down (I will finish polishing mine after as the girls wanted to try the game out right away). One person at a time flips over two hearts to see if they found a match. If there is not a match, turn the hearts over again (younger children may leave them face up) and the next person tries to find a pair. If you find a pair you try again until no pair is found. When all the pairs have been found the person with the most pairs win.
We also made a few magnets to hold all our
love notes we have been making and a few pins to wear on Valentines day.
To make these all you need to do is glue on your choice of a magnet or a pin to the back of your heart shape.
 |
| Our wooden valentine heart magnets in action |
Last but not least we made a Tic, Tac, LOVE, Toe game by making 2 sets of 5 of the same hearts as each player needs 5 hearts. We made a board game grid on a piece of paper with red masking tape and voila it is finished and ready to play. To store I slipped the paper piece in a page protector. It can be left in the page protector during game play too. This will keep the paper in good condition. The game pieces were placed in a small zip lock bag and then I just popped the ziplock into the page protector when not in use. You could easily fold the paper to fit in the smaller ziplock and it could be stashed in your purse for a boredom buster at a restaurant or waiting at the Dr's office.
Valentines day is fast approaching. Do you celebrate in your home? Have you been busy making anything special to celebrate?


 '
'


No comments:
Post a Comment
Thank you for taking the time to leave a comment! I love reading them, and visiting your blogs too :)