Yesterday Sierra and I joined a homeschool group for an afternoon of beading fun at Mhai O Mhai Beads in Barrie, Ontario. Everyone was so busy creating and left abruptly afterwards that we didn't have a chance to talk with too many people but we had a great time creating and enjoying our "mommy & me" time.
The class room is upstairs overlooking the ground floor store. There were about 12 children and 8 adults present (not all the adults created but some did) and there was plenty of room for us all.
 |
| One of the two tables in the class area. |
 |
| Sample table for ideas. Sierra loved this bracelet she is admiring in the photo and we bought the materials to make one at home |


Sierra chose to make a tiara so I made one as well to take home for Aayla. The hardest part of making our tiaras was choosing which beads to use. The selection was amazing. Sierra chose a variety of blues for her tiara and I used pinks and purples for Aaylas.


Sierra was very thoughtful with the placement of each bead. You can see the concentration all over her face.


Sierra models her finished tiara.


-hand eye coordination
-fine motor skills when grasping and manipulating beads
-visual discrimination
-cognitive skills with planning of beaded patterns for shapes or colours
Upon finishing a beading project, children can also feel a sense of accomplishment when allowed the freedom to create and express themselves through their choices in colours and patterns.
See THIS article by Kimberly Voaden, OT Reg. (Ont) where she describes the developmental benefits in more detail. She also discusses ways to adapt beading activities to provide beading opportunities for children with special needs (these ideas will benefit younger children as well so everyone can join in the creative, development process of beading).
Want to give beading a try but don't know where to start...
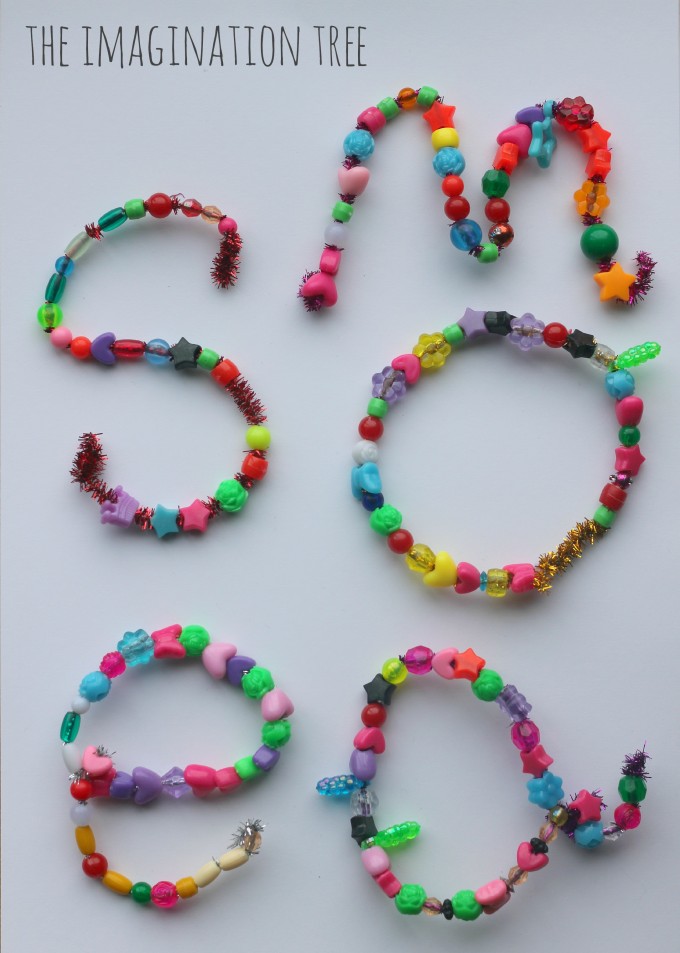
12 activities using beads to promote early learning
 |
| Click here for LINK |
 |
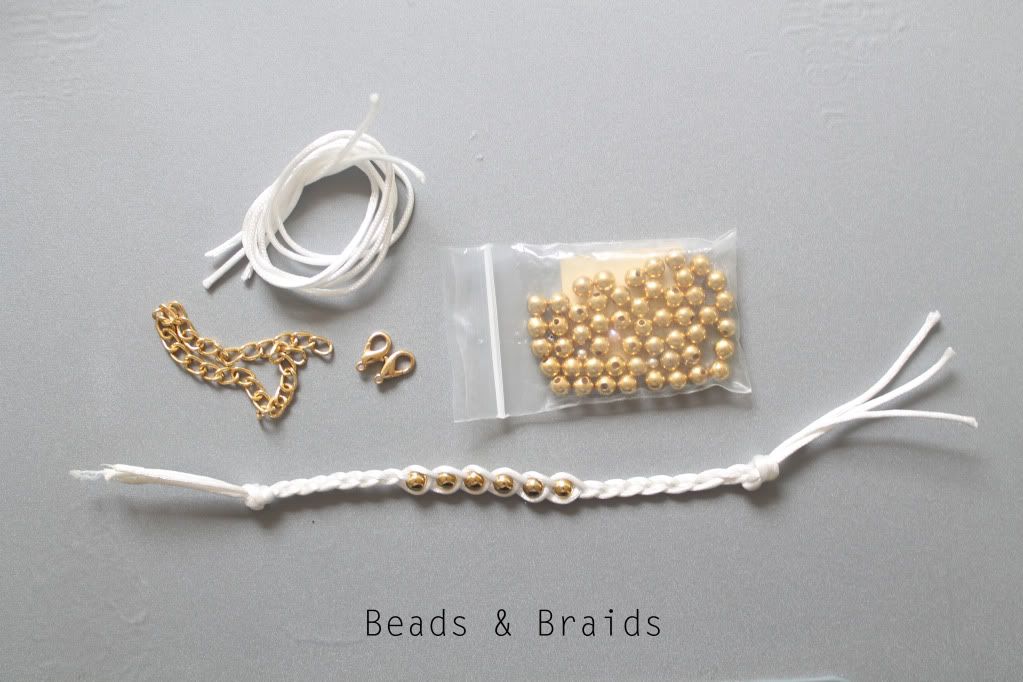
| Directions HERE |
 |
| Directions HERE |
 |
| Directions HERE |
Remember making these as a kid? Friendship bracelets with safety pins.
 |
| Directions HERE |
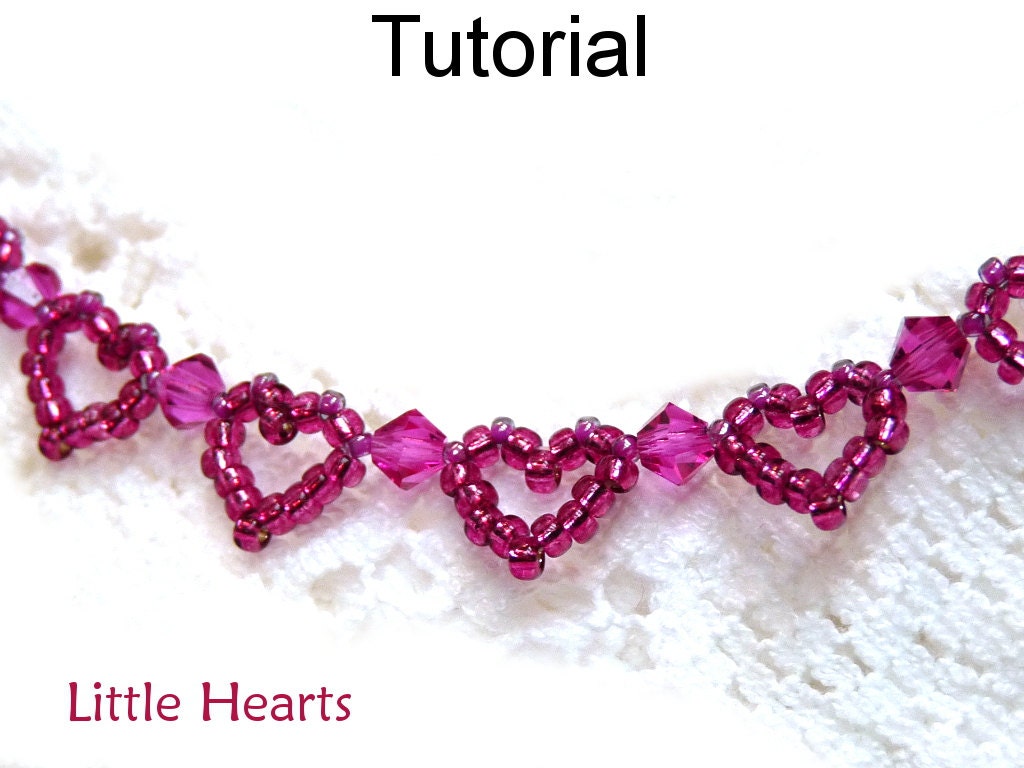 |
| Click here to buy PDF |
Are you inspired to bead now? Do you have a favourite beading activity for children? I'd love for you to share it with us.
(I have not been compensated in anyway for this post. All opinions expressed here are my own)