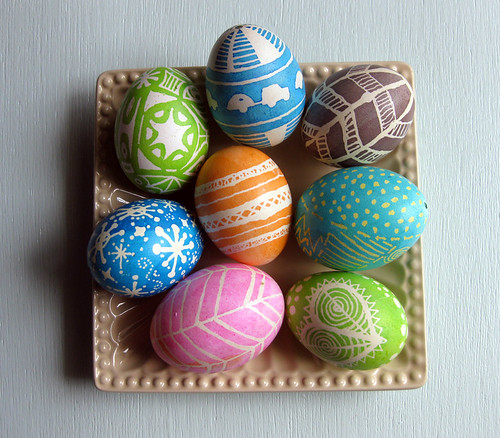
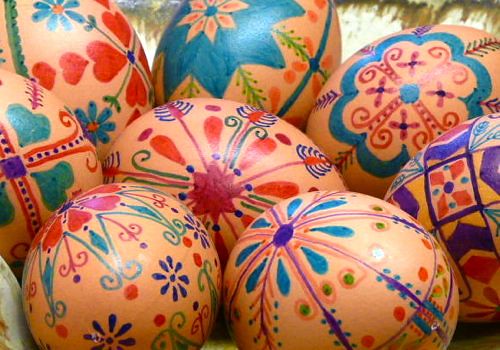
What I like best about the wooden Pysanky eggs is they last for years without fear of them breaking. I have a wooden Pysanka egg that was given to me from a neighbour of my Nanny Cabbage rolls when I was little (She had the nickname Nanny Cabbage rolls because she made the 'bestest' cabbage rolls in the whole wide world!). I also have a wooden egg that my grandfather made (he was a carpenter) and my grandmother painted back in 1982. These are two treasures of mine in our Easter decoration box as well as a few bunnies and things.
What are Pysanky eggs? Click
HERE to learn more. Also at the very end of this post there are a couple links to DIY's for intricate, simple and faux designs on real eggs.
We might try it again this year but today we decided to stick with wood burning wooden eggs. I happened to score a bag with a dozen wooden eggs at the thrift store a couple weeks ago...yeah! It gets better...I had a 30% off coupon to use :)
To make your wooden Pysanky eggs you will need:
-Water colour paints ( I used liquid but tempra blocks will work too or regular water colour paint)
-Small paint brushes and a water container to rinse brushes before switching colours
-Wooden eggs
-Pencil
-Wood burner
1) Plug in your wood burner to heat up.
2) I find it easiest to draw your design on your egg with a pencil first. This way you can make changes if you need to.
3) When the wood burner is warmed up carefully use it to draw along the pencil lines.
***I recommend an adult do this part. Your older child may be able to this part but I did the wood burning for my 7 year old so she didn't slip the tool off the egg and burn herself.***
As you can see I am not very good at using the wood burner. I think I have the wrong tip and really should look into buying a proper tip. The wood burning takes some time to do and the round surface and curvy designs are challenging. Also there is no way to fix a mistake so go slow and careful. You may want to sacrifice an egg to practice a bit first.
4) Using the water colour paints and a small paint brush carefully paint your designs.
Be careful not to have too much paint on your brush or your paint may bleed out onto other parts of your egg as shown below with the heart.
5) It is also best to either do all of the small designs first or the background first and wait till they are dry before starting the other area or paint blending might occur. In this picture I am painting the background first then when it was dry I went back and painted the smaller design spaces.
6) Voilà! Beautiful wooden Pysanky eggs. Sierra chose to leave her backgrounds natural on her two eggs.
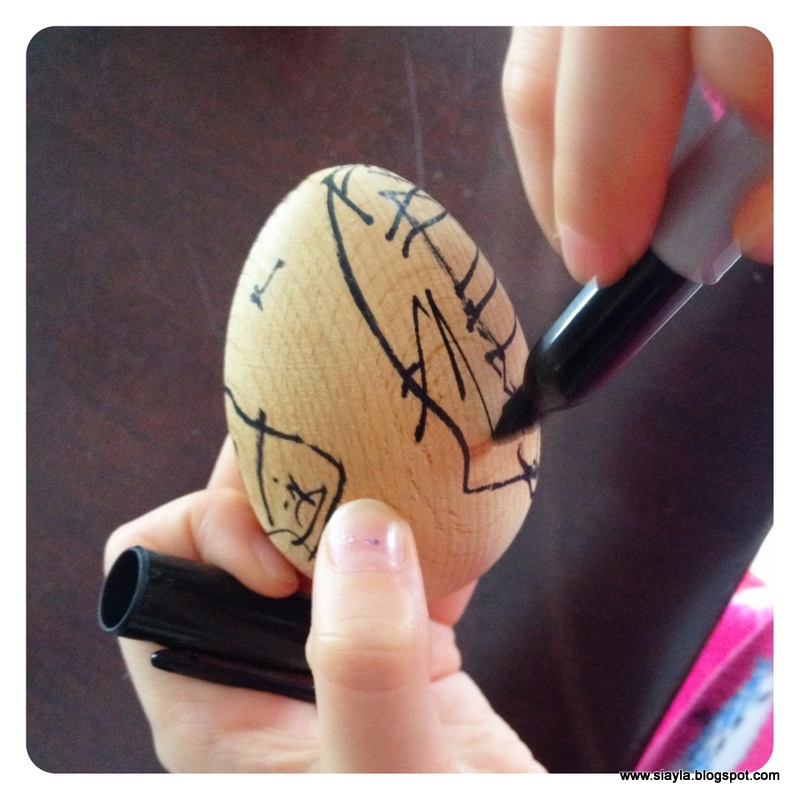
If you don't have a wood burner but would like to try making these wooden eggs it is possible to do so using a permanent marker instead of the wood burner. I started with pencil first and then use the marker. Any pencil lines showing can be erased before painting.
Aayla just used the marker directly on the egg.
Next you paint the same as above.
Aren't they all so beautiful? Even though my wood burning skills are not the greatest in the end the finished products are beautiful keepsakes to have for years and years.
And look at these other awesome ideas for wooden eggs:
Disguise an egg
 |
| SOURCE with printable for disguises |
Make Humpty Dumpty's
Make Story Eggs
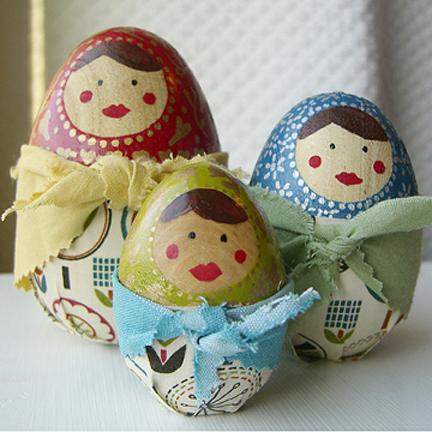
These Matryoshka wooden eggs are adorable
Make Hina dolls
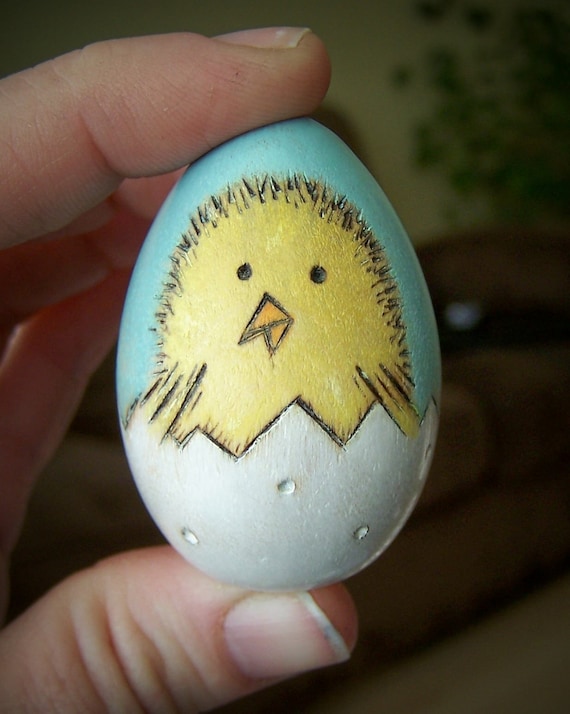
This chick in an egg is from etsy for $12US but isn't it adorable?
I LoVe that all these wooden egg ideas are great gifts and they can be treasured year after year.
If you want to make real Pysansky
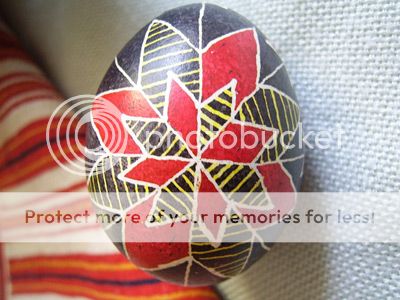
HERE is an egg-cellent tutorial to make intricate eggs like these:
If you aren't brave enough to try an intricate design, then
THIS post has a DIY with designs that are more simple.
Last but not least an easy way to get the intricate designs without the beeswax by just drawing on your designs with markers.
Do you make Easter eggs? What is your favourite type to make?